As you train to become a nurse, doctor, or paramedic, you practice inserting an IV so often that it might seem impossible to forget the steps. Then, during your medical career, IV insertions become commonplace because they are essential and the standard practice in many medical situations. Even if you practice IV insertion regularly, brushing up your knowledge and skills to stay sharp is still wise. If you are in the healing industry, read on for a complete step-by-step guide to starting an IV.
What Is an IV?
IV therapy, or intravenous therapy, is the administering of fluids, blood, or medication through a vein and directly into a patient’s system. The method allows the fluids to take an immediate effect, and more than 90 percent of all hospitalized people end up with an IV. Training and certification requirements are necessary to administer an IV, so only medical professionals—such as paramedics, nurses, and doctors—are qualified for the task. The following is a list of possible reasons for needing an IV:
- The delivery of essential fluids to treat dehydration.
- The administering of drugs during surgery.
- The administering of nutrients to those who suffer malnutrition.
- The delivery of emergency medication during a heart attack, stroke, excessive fluid loss, or another medical emergency.
What You Need for an IV Insertion
Before beginning the step-step process for an IV insertion, you need to gather some supplies. Here is a list of the tools you need:
- Tourniquet
- Antiseptic cleansing wipes
- Tape
- Gauze
- Tegaderm
Most facilities supply an IV kit to make this easy. Let’s look at the roles of each tool below.
Tourniquet
Tourniquet is a fancy word for the strip of rubber that nurses and other medical professionals use to wrap tightly around the patient’s arm so they can easily find a vein.
Antiseptic Wipes
Antiseptic wipes are a quick and efficient way to cleanse the area about to receive the IV. Having a clean, germ-free place to administer the IV is essential.
Tape, Gauze, and Tegaderm
The tape, gauze, and Tegaderm all help hold the IV in place. Tegaderm looks like a frame around the insertion site once the IV is in place.
5 Steps to IV Insertion
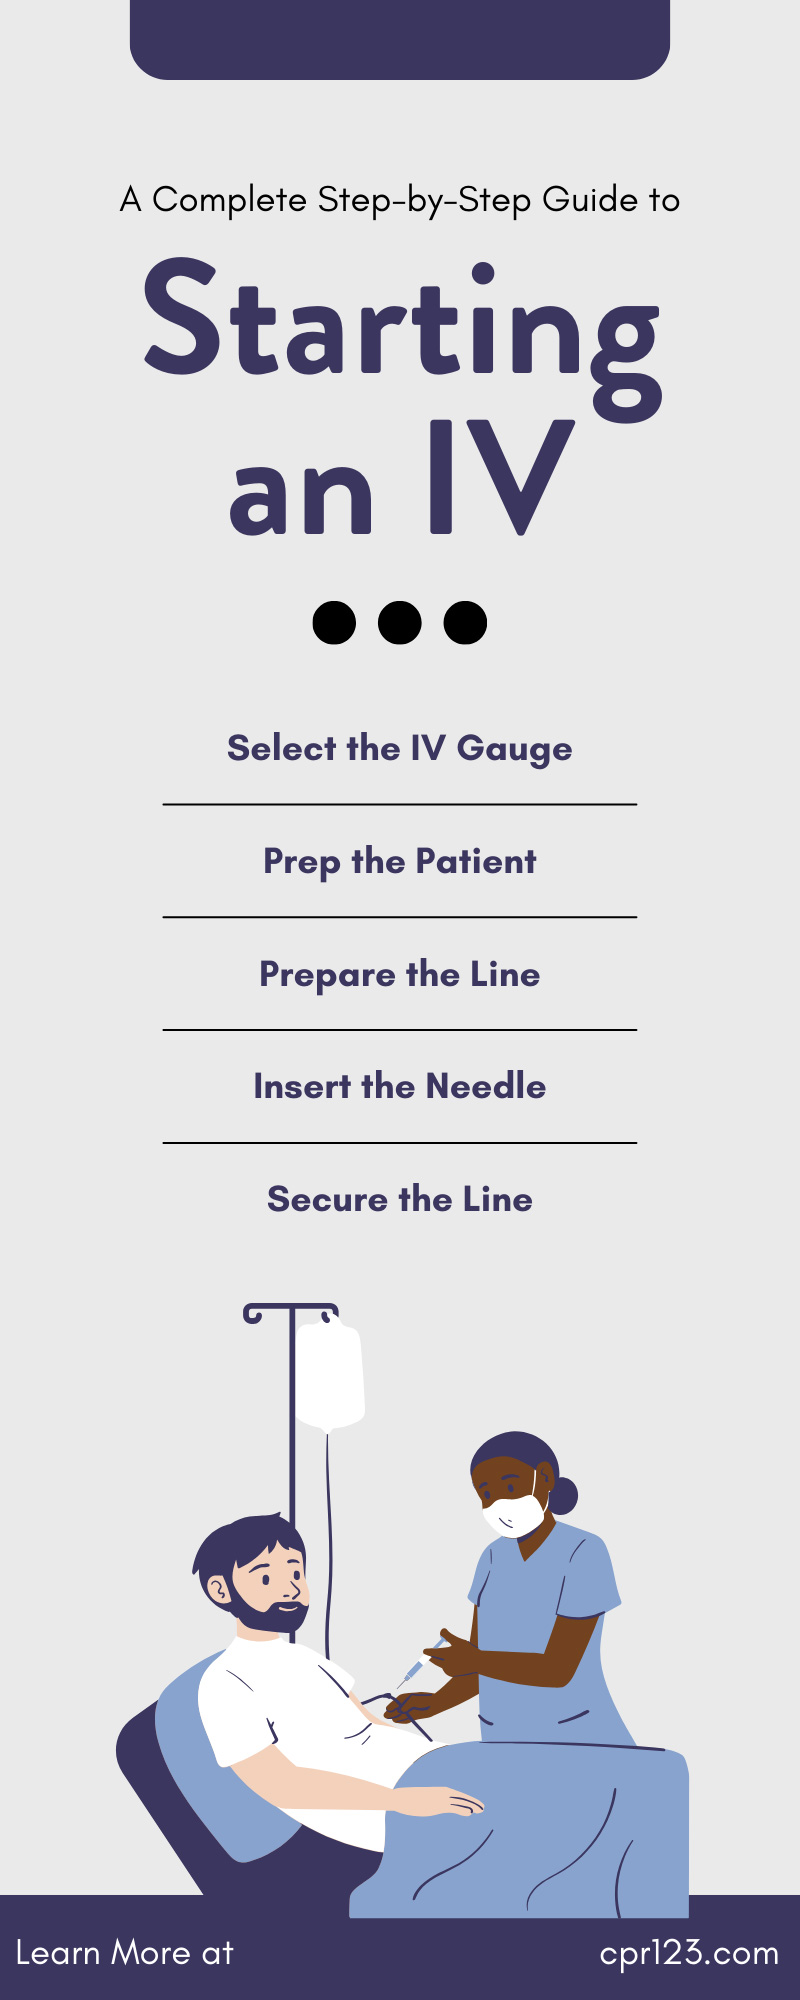
There are five steps to IV insertion: select the IV gauge, prep the patient, set up the tools, insert the needle, and secure the line. Keep reading for a thorough breakdown of each step.
Select the IV Gauge
The gauge is the size of the needle, and there are five basic gauge sizes to choose from. Choosing the right one is paramount. The range varies from large sizes for large adults to very tiny IVs for infants. The following describes each gauge size:
- 14g–16g, and 18g: These large IVs don’t see much use because they are so big. They could do plenty of damage to a vein that is too small for a gauge this size. However, in an emergency, if the delivery of fluid is critical, a medical professional will not hesitate to use the 14g–16g or 18g IV.
- 20g: This is the most common size for adult IVs.
- 22g: A little smaller than the 20g, the 22g is for a child or an adult with tiny veins.
- 24g: The very small 24g is for infants. Because it is so flimsy, it is not good for any other type of vein.
Prep the Patient
To prep a patient for IV insertion, follow these three steps:
- Wash your hands and put on clean gloves.
- Apply the tourniquet and find the vein. Place the tourniquet just above the IV site.
- Use the antiseptic to cleanse the IV area.
Prepare the Line
After prepping the patient, it’s time to prepare the IV. Take your time so nothing is missing, but be efficient so you can insert the IV soon after disinfecting the site. Here’s how to prep the IV:
- Hang the IV bag so it’s elevated, and fill it with saline solution.
- Tap the line so there are no air bubbles.
- Remove the needle cap to expose the IV.
Keep the IV away from everything except the patient’s cleansed area to avoid germs.
Insert the Needle
Now that you’ve completed the preparations, it’s time to insert the IV needle. Here are the steps for IV needle insertion:
- Keep the bevel up and hold the needle at a 10- to 30-degree angle, pointed at the insertion site.
- With your other hand, make the skin taught at the insertion site (over the vein) so insertion goes smoothly.
- Watch for the flashback of blood, which you will see in the flash chamber. You might also notice it in the catheter if it’s a bigger size. The flashback is a good sign that the IV went in correctly.
- If there’s a flashback, you can now ease back and tilt the needle until it’s parallel with the skin. Once it looks parallel, advance the needle about 2 to 6 millimeters.
- Now, the IV catheter can slide off the needle and easily slip in. At this time, check for any dimpling, which is a sign that the IV is not intravenous but, instead, extravascular. If that’s the case, you must repeat the process.
- If all is well, remove the tourniquet and apply pressure just above the tip of the catheter.
- Press the activation button, which will completely retract the needle.
Secure the Line
Now that the IV is in place, the last thing to do is secure the IV line. Choose Tegaderm, gauze and tape, or both, and adhere the IV line to the arm. Doing so makes the patient more comfortable and less likely to worry the line will come out if they move. It also assures you, as the provider, that the line won’t fall out by accident.
As a medical professional, you must stay current with IV insertion and understand the complete step-by-step guide to starting an IV so your patients are always in good hands. That’s why at CPR123, we offer an IV certification class for peripheral IV insertion, taught by our expert instructors. With our credibility and your completed certification, your medical portfolio will speak for itself. Contact CPR123, and we will be happy to point you in the right direction for all your certification needs.